1. Introduction to Timber Cladding and its Benefits
Are you looking for an attractive, cost-effective way to improve your home? Look no further than timber cladding! Using boards or battens to cover internal or external walls, or as fencing is a popular choice among DIY home developers, contractors and retail customers alike. Covering a wall with timber is used in both traditional and contemporary settings and both internally or externally.
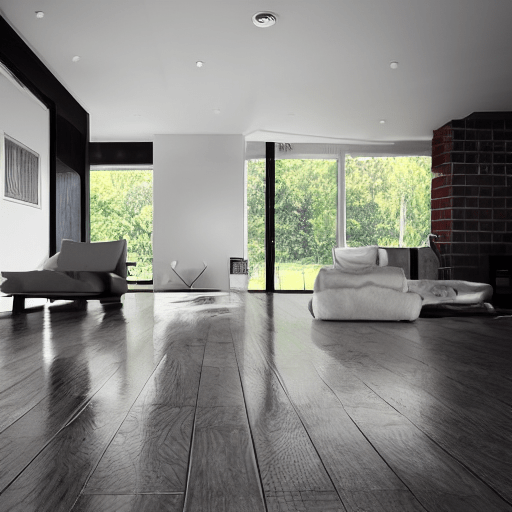
Cladding provides a traditional, natural and warm look to your interiors and exterior walls but is often used in a contemporary style providing clean and modern lines to your home. Timber is also a natural insulator and can help deal with heat loss through walls, a feature that is increasingly becoming more prominent on most householders feature list.
Other benefits are:
- its ability to quickly and effectively cover up unsightly or damaged walls with a natural product instantly providing an improved aesthetic.
- Timber is a renewable resource, with a plentiful supply. Forestry source certification schemes (such as PEFC) ensure sustainable management of both softwood and hardwood forests.
- Trees are powerful allies in the fight against climate change, as they use carbon dioxide from the atmosphere to grow. Utilizing wood sourced from sustainably managed forests is an effective way to reduce CO2 emissions and support biodiversity. By expanding forests, we can protect our planet for generations to come.
- Timber is the premier construction material when it comes to efficient energy usage – much more so than concrete and steel. Its use as an eco-friendly building material helps projects reach their carbon zero targets. Additionally, timber also has great potential for reusing or recycling at the end of its life cycle or transforming into energy through Biomass facilities.
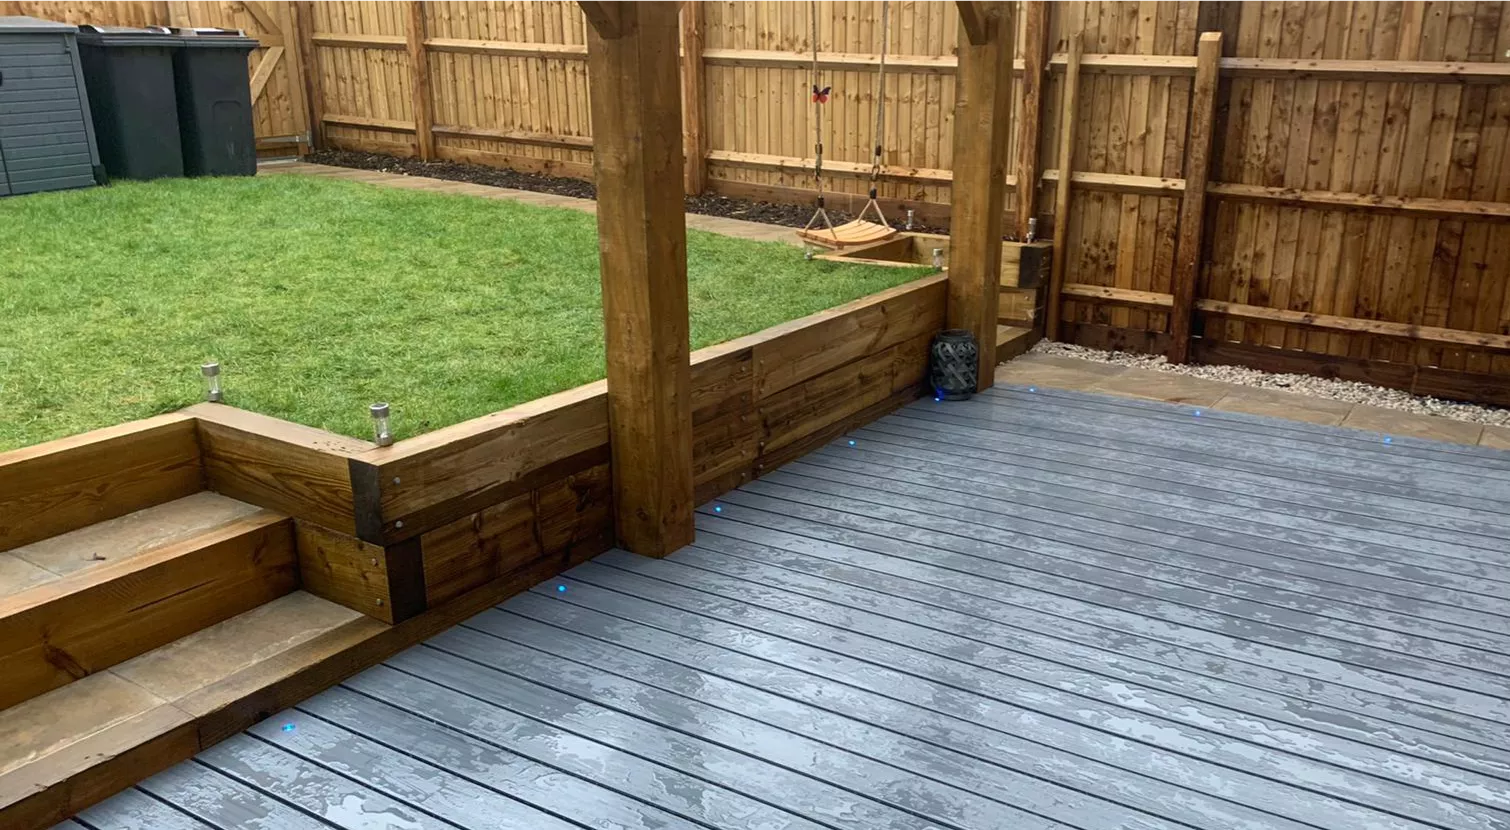
In this our ultimate guide to timber cladding, we will explore the different types of timber cladding available, such as tongue and groove cladding, featheredge boards and shiplap timber and the benefits of using this versatile product. A recent popular innovation is using battens of hardwood or even roofing battens in horizontal strips to cover fencing or as panels in gazebos or pergolas.
We’ll also discuss installation methods and costs associated with using timber cladding around the home
A quick browse through most home improvements magazines and you will find them adorned with wonderful images involving this beautiful material and you can be left with the impression that it is an aspirational option beyond our reach. However we will discuss how you can get a similar look in your own home.
If this is the look you aspire to then read on and find out more about how timber cladding can give your house that perfect finishing touch!
2. Timber Cladding and How to Choose the Right Type for Your Home
When it comes to the types of timber cladding available, with several different profiles choose from. There are a few different options.
Get creative and build your own garden building with our Loglap Redwood Treated Tongue and Groove Cladding. Made from pressure treated redwood timber planks, each piece is 25mm wide by 125mm deep for a sturdy construction. This cladding is perfect for creating sheds, summer houses, playhouses, kennels and more to suit any outdoor space! The pre-treated coating ensures durability against weathering and other environmental conditions. With easy installation and multiple sizes available, you can create the perfect garden building in no time! Get started today with Loglap Redwood Treated Tongue and Groove Cladding – the trusted choice for all your outdoor projects.
Our Softwood Tongue & Groove Treated V- Cladding is the perfect choice for the most demanding of projects. Constructed from premium grade softwood, this cladding offers superior quality, durability and minimal knots. It features a tongue and groove on each edge to create a smooth finish that can be painted, varnished or stained to suit each individual application.
With minimal warp, twist or shatter, this cladding provides long-lasting protection against rot and decay while enhancing any outdoor space with its classic look. Plus its treated finish allows you to enjoy years of trouble-free use with ease. So if you’re looking for the perfect way to give your project the professional touch it deserves – then look no further.
Tongue and groove v-cladding is a great option for those wanting an even more distinctive look – with its interlocking design providing extra protection from water damage or rot.
Featheredge boards offer added strength as well as aesthetic appeal – making them ideal for high-traffic areas inside or outside the home. These are available in several widths and lengths for convenience and provide a rough sawn face for a rustic look.
Get the perfect look for your home or garden with our Brown/Green Treated Featheredge Boards. Our boards are made from high-quality timber and treated to ensure longevity in all weather conditions. With its stylish design, these boards will provide a uniformed, secure and beautiful finish to any garden.
Whether you’re looking for an attractive fence panel or want to complete a long run of close board fencing, our Brown/Green Treated Featheredge Boards are the ideal choice. Plus, when combined with our Back Rails and Top Caps, you can create a strong yet attractive fencing solution that will last for years to come.
Order today and enjoy the convenience of having durable and stylish fencing delivered directly to your door!
Lastly, our Shiplap Timber provides a classic style that has been used on homes for centuries – giving any room an elegant touch without breaking the bank! Our treated shiplap is 115mm cover width and is available as 12mm or 16mm thick boards. They are available in various lengths from 3.6m to 4.2m for smooth, continuous lines. They provide a smooth face with a beautiful scalloped edge to create a weatherproof and attractive line. Often used in construction of sheds and garden buildings they are usually installed horizontally. They are treated for protection and suitable for both interior as well as exterior installations.
Once you’ve chosen which type of timber cladding best suits your needs, installation is relatively easy but should always be done by professionals if possible.
3. Wood used for timber cladding
The type of timber used for cladding is just as important as the type chosen. Some types, such as cedar and larch, are naturally resistant to rot and insect damage – making them ideal choices for areas exposed to weathering or moisture.
Other hardwoods such as oak or teak can also be treated with preservative products to increase their longevity in harsher climates. And finally, softwoods like pine and spruce offer a cheaper option that still looks great when properly finished! No matter what type of wood you choose, it’s important to ensure that it has been properly treated before installation.
This will help protect your investment from water damage or rot over time. You should also make sure that all nails used during installation are corrosion-resistant so they don’t rust away quickly – and always use appropriately sized screws so they hold fast without damaging the timber itself. We tend to recommend our Spax stainless steel range of screws. With these tips in mind, you’ll be able to enjoy your beautiful new cladding for years to come!
4. Preparing your Home Before Installing Timber Cladding
Before installing your timber cladding, it is important to make sure the surface is prepped properly. This includes removing any existing paint or sealant and ensuring that all surfaces are even and level in order for the cladding to fit correctly.
If you are planning on using treated battens or featheredge boards, you will also need to ensure that no nails protrude from the wood as this could cause damage once installed. Finally, remember that when preparing a new area of your home’s exterior for timber cladding installation, make sure there are no obstructions such as power lines or trees in its way – otherwise these may have an impact on how well the cladding fits!
Once everything has been prepped and ready for installation, you can begin adding timber cladding to give your home a beautiful finish. When installing tongue and groove or shiplap panels, be sure to use stainless steel screws as they will provide added durability over time.
For larger projects like sheds or bathrooms with featheredge boards, you should consider using galvanised nails so they don’t rust due to moisture levels present in certain areas of the house. With all types of timber claddings however, always remember to apply a sealant after installation – this will help protect against water damage and keep your investment looking great for years!
5. Cost considerations and budgeting tips
Costs will vary depending on factors such as size, complexity of installation and quality of materials used but typically range between £10-£60 per square metre installed. Our featheredge boards start at £0.50p each for 0.9m lengths and is our cheapest option for covering large areas. It is also important to ensure that all wood intended for external use is treated beforehand to protect against weathering over time; this will add additional cost but may be necessary depending on where around the house it’s being used (i.e., sheds/bathrooms).
When creating a budget for your project, always take into account the cost of materials and installation as well as any other related costs such as sealants or specialised tools that may be required.
Additionally, make sure to factor in labour costs if you are planning on having a professional do the job for you – this will ensure that all work is done to a high standard and with minimal risk of error.
Finally, it’s important to keep safety in mind when doing any type of home improvement projects; wearing proper protective gear (such as goggles/gloves) while working with timber cladding can help protect against wood splinters or debris during installation.
By taking these steps before beginning your project, you can rest assured knowing that your investment has been properly planned out and taken care of!
6. Choosing the Right Tools and Materials For Installation
In addition to choosing the right type of timber cladding for your project, it is also important to select the correct tools and materials.
If you are installing tongue and groove panels, then you will need a saw (preferably cordless) and drill/driver with bits suitable for woodwork. For featheredge boards, make sure you have a hammer, galvanised nails (of the right size), chisels and spirit level handy; these pieces of equipment are essential when piecing together longer lengths of wood in order to create an even surface.
Lastly, if using shiplap cladding then be sure to purchase sealant tape as this can help keep moisture out while still allowing air circulation – resulting in a better overall finish! Overall, using timber cladding around your home is an excellent way to give it that perfect finishing touch without breaking the bank.
With its various types available along with careful preparation beforehand and selection of appropriate tools & materials during installation – any DIY enthusiast should have no trouble transforming their house into something truly special!
7. Installing Timber Cladding Around Your Home
Now that you have an understanding of the different types available and what steps need to be taken prior to installation, let’s take a look at our step-by-step guide for actually installing it around your home:
Step 1: Measure & Sketch Out Your Project Area – The first thing you will need to do is measure out the area where you plan on adding your boards. Once this is done, sketch out a rough outline as it will help ensure everything fits properly once installed. It can also act as a helpful visual aid when purchasing materials or tools from the store. You should create a sketch of how you intend the final installation to look. Take note of any tricky areas such as around baths, toilets, cisterns, pipes etc and formulate a plan to deal with them. Timber cladding is very forgiving and easy to cut.
Step 2: Cut & Fit Pieces Together – Install battens at regular intervals to provide support for the main boards. Depending on which type you are using, cut each piece according to its measurements then fit them together accordingly (i.e., tongue and groove panels require interlocking pieces). Remember the old adage- Measure Twice – Cut Once! A second pair of hands can be useful to hold the boards in place although a pair of quick-grip clamps can be very handy at holding the boards in place for nailing.If using featheredge boards, make sure all lengths are even before nailing into place; additionally use sealant tape along any cracks or gaps in order to keep moisture levels low during rain/humidity periods.
8. Maintaining Your Timber Cladding Once It’s Been Installed
Once your timber cladding has been installed, it is important to take the necessary steps in order to keep it looking great. This includes giving it a regular clean with warm soapy water – which will help remove any dirt/grime build up; as well as applying sealant every few years in order to protect against weathering over time.
Additionally, if you have used paint or stain on your wood then make sure to check for any signs of blistering or chipping and touch up these areas accordingly (if needed). By following these simple maintenance tips, you can guarantee that your investment will last for many years! In conclusion, using timber cladding around the home is an easy and cost-effective way of sprucing up various areas without breaking the bank – adding both value and style in equal measure.
With its various types available along with careful preparation beforehand & selection of appropriate tools & materials during installation – anyone should be able to successfully create something truly special!
Once complete however, remember that regular cleaning & sealing is key when maintaining its appearance over time – ensuring that your investment looks great for many years into the future.
9. Common challenges with installing timber cladding.
While timber cladding is relatively straightforward to install and can add a great deal of character to a home, there are some common issues which may arise during the installation process. This includes checking for rot & damage in existing wood prior to using it as a base layer; ensuring measurements are precise so that pieces fit together properly; and making sure all battens/boards have been treated with preservative – otherwise they could become vulnerable over time.
Additionally, if going for the shiplap option then make sure you purchase sealant tape as this will help keep moisture out while still allowing air circulation – resulting in an even better finish! All these potential challenges should be taken into consideration before starting any DIY project involving timber cladding around your home.
Ultimately, installing timber cladding is an excellent way to give your house that perfect finishing touch without breaking the bank.
With careful preparation beforehand and selection of appropriate tools & materials during installation – any DIY enthusiast should have no trouble transforming their house into something truly special! Just remember when choosing types of boards or panels that each one has its own unique benefits (i.e., tongue and groove provides more coverage whereas featheredge allows more breathability) – so choose accordingly based on personal preference or budget constraints.
Finally, once installed don’t forget about regular cleaning & sealing as this will ensure your investment looks great for many years into the future!
10. Wrapping Up: Final Thoughts
From creating a perfectly tailored feature wall in your living room to transforming an old shed into something truly special, using timber cladding around the home can provide endless possibilities. Not only is it relatively inexpensive when compared to other materials, but thanks to its versatility and durability – it’s also a great option for both indoor & outdoor projects!
When choosing which type of timber cladding to use, be sure to take into account factors such as location (i.e., bathrooms require waterproofing) and desired aesthetic (i.e., traditional or modern). Additionally, don’t forget that careful preparation beforehand and selection of appropriate tools & materials are key during installation – if done correctly you could have yourself the perfect finishing touch for your house in no time at all!
Overall, timber cladding is an affordable and attractive option for those wanting to spruce up the look of their home. With its wide variety of styles and easy installation process, it’s no wonder why so many people are turning to this popular choice. So if you’re looking for a cost-effective way to finish your house that won’t break the bank – then timber cladding might just be the perfect solution!
We have an expert and friendly team available at W Burton and Sons to provide any tips and advice about your project, and the correct timber to use. We hold most of the products mentioned in stock all year round and can deliver locally using our own fleet of delivery vehicles. Please don’t hesitate to get in touch or just pop along to the Threapwood yard and we will be happy to demonstrate the options.